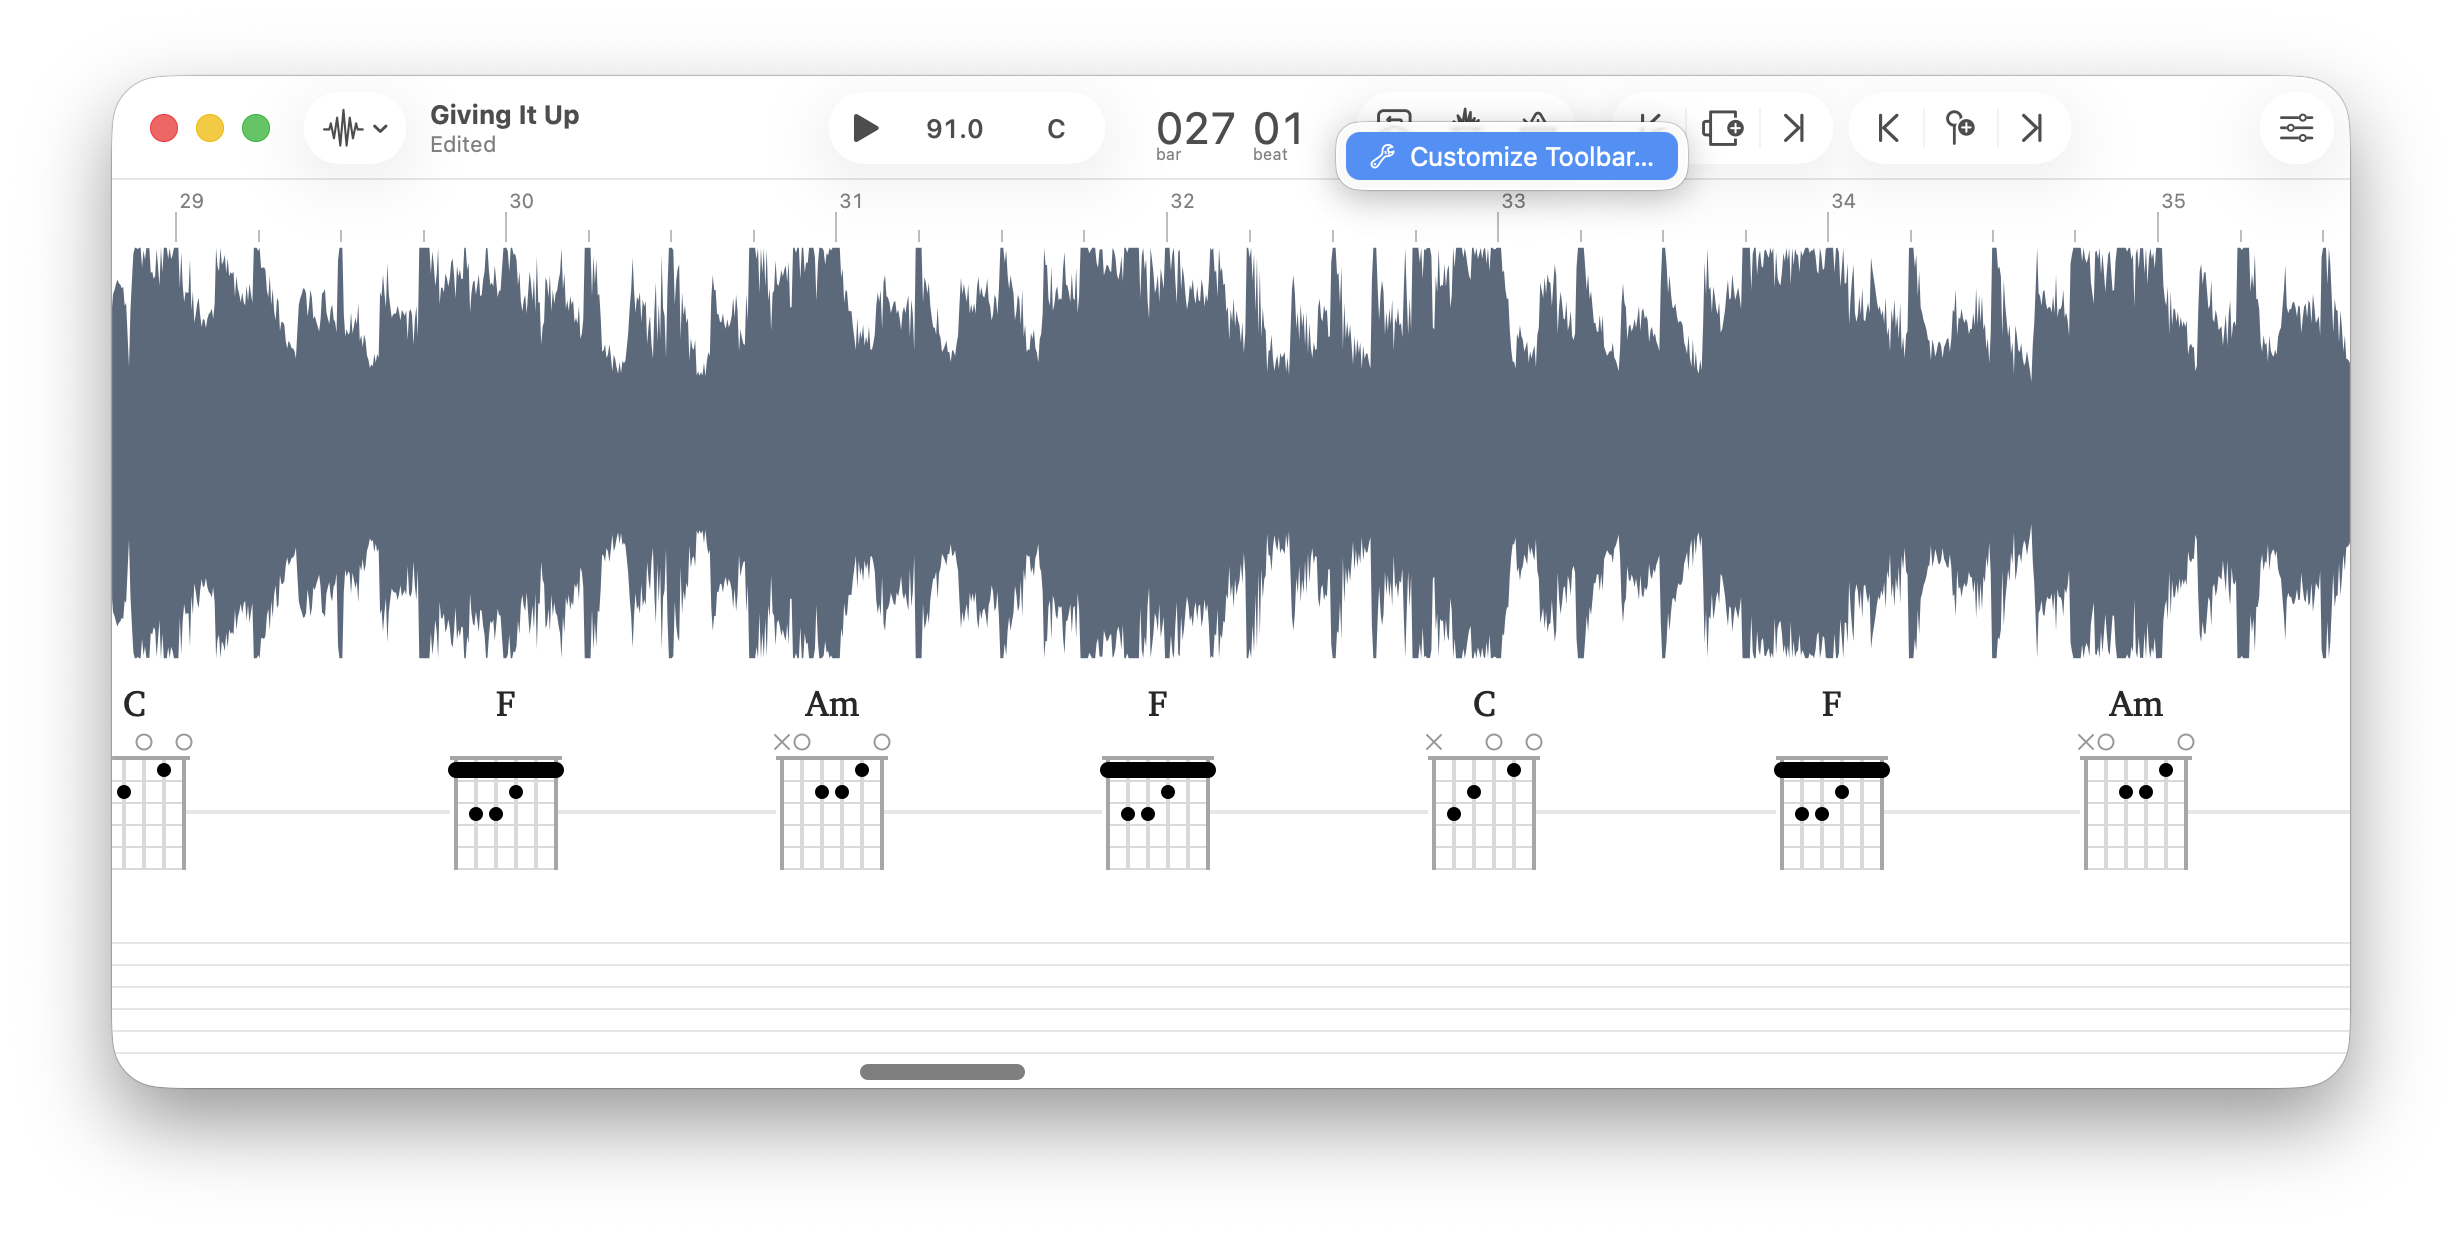
16 The Toolbar (macOS)
Capo’s most-used controls appear at the top of the project window in a Toolbar. The toolbar is a system-wide component in macOS that you’ll also find in apps like Mail, Preview, Pages, or Numbers. Just like in those apps, Capo’s toolbar can be customized to include your preferred controls.
When you resize the window, the system will collapse toolbar items automatically if they no longer fit. But they don’t go away—grouped items (e.g., the Region or Chords controls) become pop-up buttons first, and others move into an overflow item at the very right of the window. Clicking the overflow item reveals your controls in a pop-up menu.
16.1 Customizing the Toolbar
Each of the song views has their own toolbar, and you can change the list of controls to suit how you work in different views. For example, you might not use the metronome while tabbing, and you could replace it with the Freezer control if you find that more helpful.
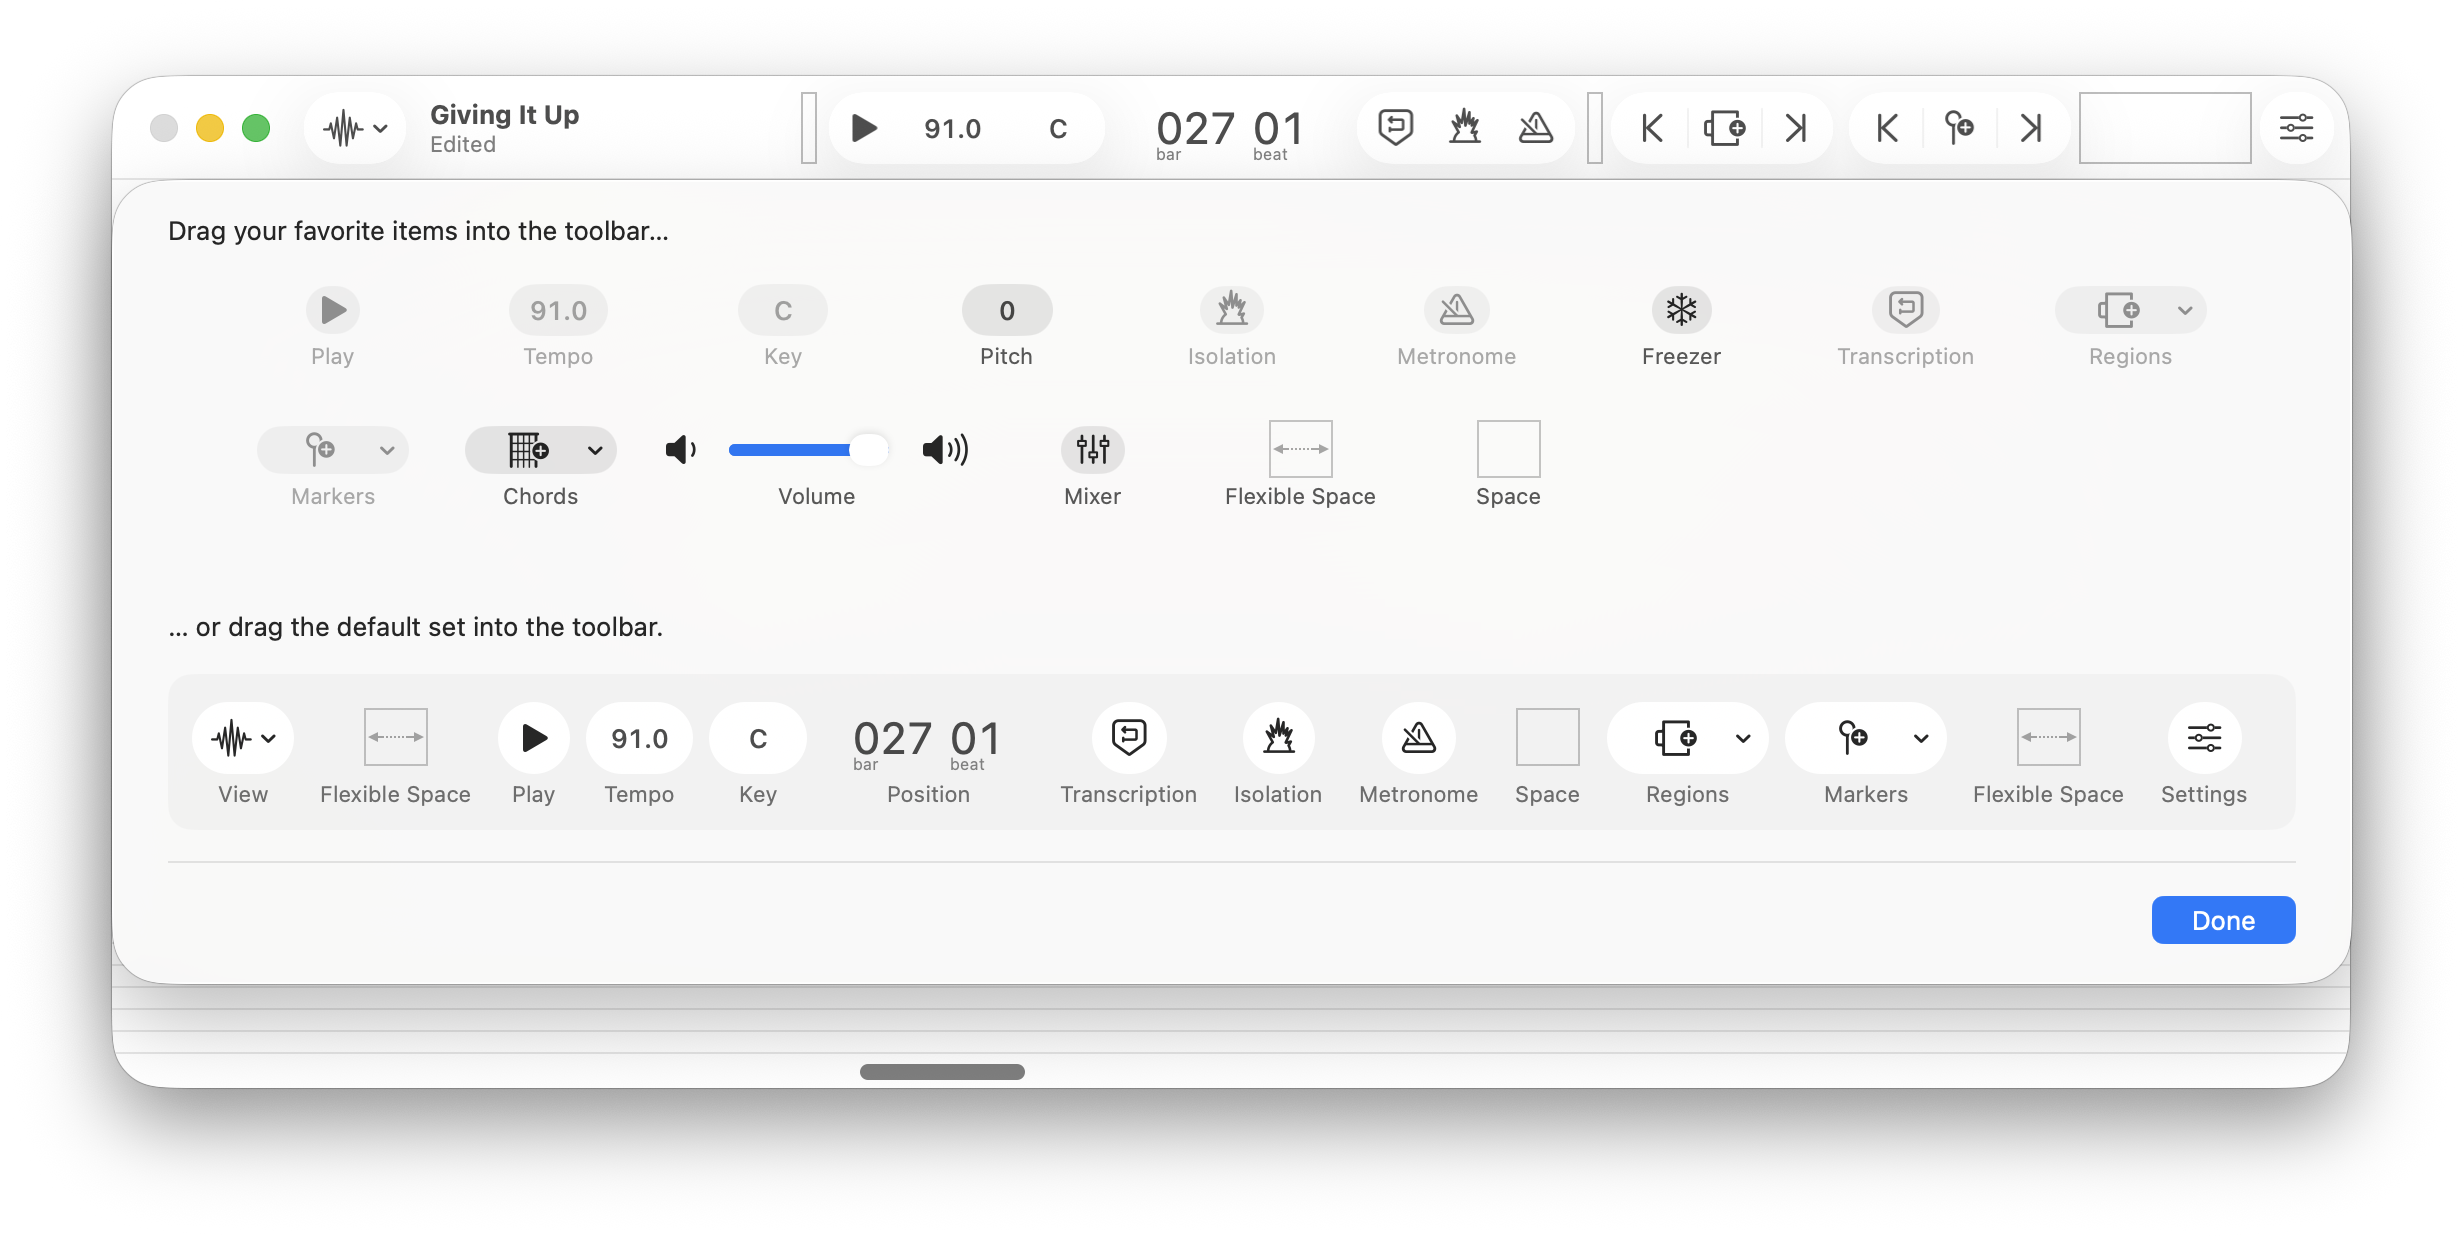
To add new controls in the toolbar:
- Right-click in the toolbar area
- Choose “Customize Toolbar…” from the menu
- Drag controls from the list of available controls into the toolbar area
To remove controls from the toolbar:
- Right-click in the toolbar area
- Choose “Customize Toolbar…” from the menu
- Drag controls from the toolbar area out of the toolbar
To rearrange controls in the toolbar:
- Right-click in the toolbar area
- Choose “Customize Toolbar…” from the menu
- Drag controls left/right to place them in a new location
The song view selector, the position display, and the settings items cannot be moved or replaced in the Toolbar.
To restore the default set of controls in the toolbar:
- Right-click in the toolbar area
- Choose “Customize Toolbar…” from the menu
- At the bottom of the control list, drag the default set of controls up into the toolbar area
16.2 Permanent Controls
16.2.1 Position Indicator
At the very center of the window’s toolbar you’ll find a readout of the current position in the song. By default, this shows the bar-beat position (e.g., bar 42, beat 03). If you click on the display, it will instead show you a readout of the current time position. If you are in the Practice or Tabbing song views, this also changes the timeline to match the display on the position indicator.
16.2.2 Song View
The very first item remains in place at the left-hand side of the toolbar, regardless of how you customize your items in the toolbar. This control lets you choose the current song view in Capo.
16.2.3 Settings
In the Practice, Tabbing, and Chords song views, a settings item appears at the right-hand side of the toolbar regardless of how you configured your toolbar. When clicked, this reveals the song view settings to control how your chords and notes are shown, as well as your instrument display preferences.
16.3 Playback Controls
16.3.1 Play/Pause/Loop
The playback toolbar item lets you start or stop playback.


16.3.2 Speed
The speed item displays the detected tempo by default (e.g., 124.3). When clicked, you will see a slider that lets you change the playback speed to suit your needs.
16.3.3 Key
The key item shows you the detected song key (e.g., Bm). When clicked, you get a popover with a slider that lets you transpose the song to another key.
16.3.4 Pitch
The pitch item is not in the default set, but you can add it when you’re customizing the toolbar. This item shows the current pitch adjustment in cents (1/100th of a semitone) and displays values like +3 or -26. When clicked, you’ll see a popover with a slider that lets you adjust the fine-tuning of the recording.
16.3.5 Isolation
16.3.6 Transcription Playhead
16.3.7 Metronome
16.3.8 Freezer
16.3.9 Volume
16.3.10 Mixer
16.5 Structure View Items
16.5.1 Insert New Section
16.5.2 Edit Bar Location
16.5.3 Change Beat Count
16.5.4 Record Downbeats
The color of the button depends on the system-wide control tint color. If you have set your system’s appearance to use something other than the default blue color, then the background will appear differently to match your settings.↩︎